
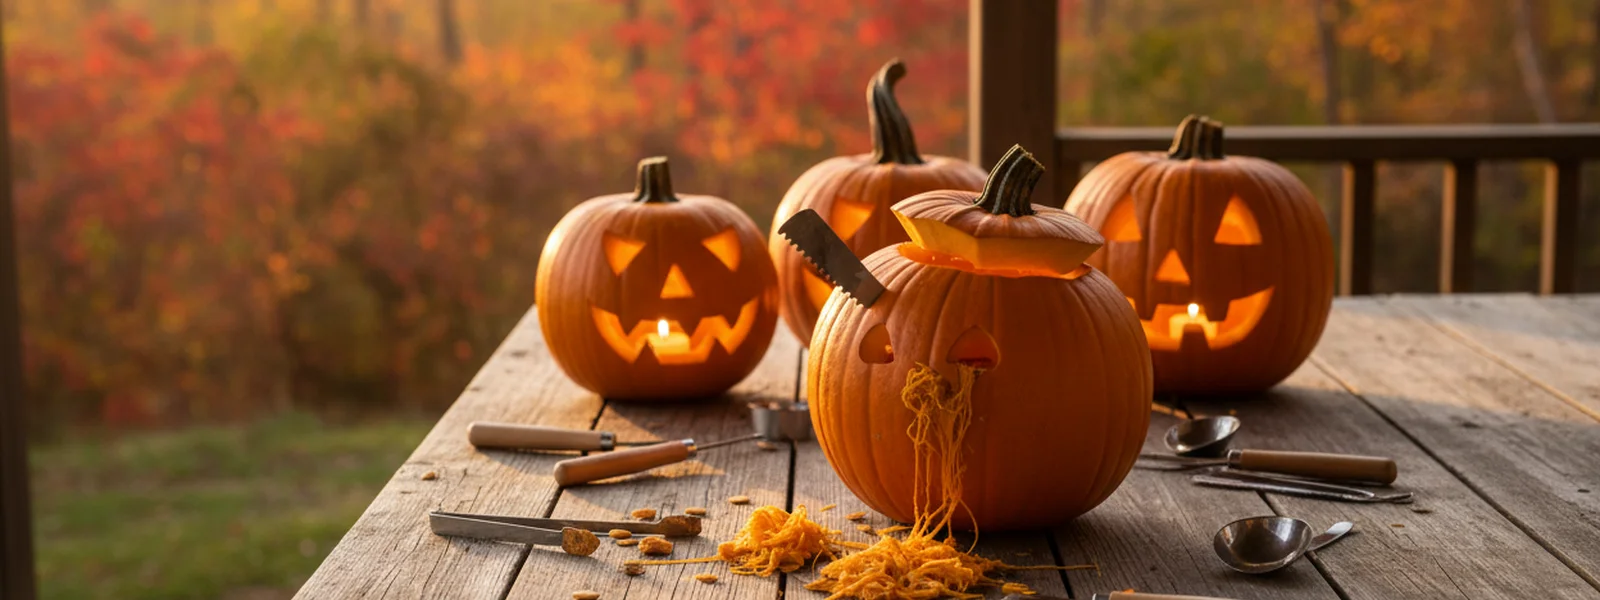
It's Time to Rethink Your Pumpkin Carving Routine
The crisp autumn air has arrived, and with it, the undeniable urge to grab the biggest pumpkin you can find and transform it into a grinning jack-o'-lantern. But let's be honest: the process can be messy, time-consuming, and sometimes, downright frustrating. If you've ever found yourself elbow-deep in pumpkin guts with a dull knife, dreaming of easier ways, you're in the right place. We're diving into some clever pumpkin carving hacks and smart tips designed to make your Halloween pumpkin prep less work and a lot more fun. Forget the struggle; it's time to embrace the ease of these quick jack o lantern tricks.
Clever Shortcuts for Easier Pumpkin Gutting
The first hurdle in pumpkin carving is often the gutting process. Scooping out those stringy seeds and pulp can be a tedious task. To make this step quicker and cleaner, consider using a power tool. An electric hand mixer with a dough hook attachment can be surprisingly effective at scraping the insides clean in a fraction of the time it takes with a spoon. Alternatively, a sturdy ice cream scoop with a sharp edge can cut through the stringy bits more efficiently than a regular spoon.
For those who prefer a more manual approach, try the 'lid-first' method for easier access. Instead of cutting a jagged opening around the stem, use a sharp knife to cut a circle around the stem at an angle, pointing the blade inward. This creates a beveled edge, allowing the lid to sit back on more securely after you're done carving. This simple trick also helps prevent the lid from falling into the pumpkin.
Sharper Cuts, Cleaner Designs
A dull knife is the enemy of a good pumpkin carving session. Before you even start, ensure your tools are sharp. A serrated utility knife or a dedicated pumpkin carving saw set will make a world of difference. These tools are designed to cut through the tough pumpkin rind with less effort, giving you more control for intricate designs.
If you're aiming for detailed patterns, consider using linoleum cutters or clay sculpting tools. These offer finer control than larger saws and can help you achieve delicate lines and textures. For freehand drawing, a washable marker is your best friend. You can sketch your design directly onto the pumpkin, and if you make a mistake, it wipes away easily. For more complex stencils, trace your design onto the pumpkin using a piece of chalk or a dry-erase marker. This is a great approach for creating a truly unique jack-o'-lantern, perhaps even one inspired by our jack-o'-lantern shirts.
Speedy Stencils and Pattern Transfer
Stencils are a fantastic way to achieve professional-looking results without needing artistic talent. You can find countless free pumpkin carving stencils online, ranging from simple shapes to elaborate scenes. Print your chosen stencil, then use tape to secure it to your pumpkin. For a cleaner transfer, poke holes along the lines of the stencil with a skewer or a sharp needle, creating a dotted outline on the pumpkin's surface. You can then connect the dots with your marker or carving tool.
Another method is to use carbon transfer paper. Place the paper between the stencil and the pumpkin, then trace over the stencil lines with a ballpoint pen. This leaves a clear, precise outline that's easy to follow. For those who love a classic look, consider designs that complement our cute pumpkin shirts, or go for something more dramatic from our spooky pumpkin shirts collection.
Beyond the Carve: Alternative Pumpkin Decorating
Carving isn't the only way to create a festive pumpkin. If you're short on time or prefer a less messy approach, consider pumpkin painting. Acrylic paints work wonderfully on pumpkins, allowing for intricate details and vibrant colors. You can create abstract designs, geometric patterns, or even paint a character that matches your favorite Classic Jack-o-Lantern Face T-Shirt.
Another popular alternative is the 'no-carve' pumpkin. You can cover your pumpkin in yarn, wrap it in decorative paper, or even use pushpins to create patterns. For a truly unique look, try using a drill with various bits to create small holes, which will create a beautiful lantern effect when lit from within. These methods are excellent for younger children who might not be ready for carving tools, or for anyone looking for quick, impactful decorations. You might even find inspiration for your next pumpkin patch shirt from these creative ideas.
Lighting Your Jack-o'-Lantern Safely
Once your masterpiece is complete, it's time for the best part: lighting it up. While traditional candles work, they can be a fire hazard, especially if placed near dry leaves or other flammable materials. Battery-operated LED lights are a safer and more convenient alternative. They come in various colors and flickering effects, providing a warm glow without the risk of fire. For an extra touch of magic, consider using string lights inside larger pumpkins or multiple smaller ones.
If you do opt for a real candle, always use a sturdy base and ensure it's placed on a heat-resistant surface. Never leave a lit candle unattended, and keep it away from drafts or anything that could catch fire. For a truly enchanting display, group several carved pumpkins together, perhaps inspired by the variety of designs found in our all Pumpkin Shirts collection. Remember, safety first, so you can enjoy your glowing creation all night long.
Making Your Pumpkin Last Longer
Want your carved pumpkin to last beyond Halloween? There are a few tricks for this, too. After carving, thoroughly clean the inside and outside of the pumpkin. Then, apply petroleum jelly or a vegetable oil-based product to all the cut edges. This helps to seal in moisture and prevent the pumpkin from drying out and shriveling too quickly.
Another effective method is to use a bleach solution. Mix one tablespoon of bleach with a quart of water and spray or brush it onto the cut surfaces. The bleach helps to kill mold and bacteria that cause decay. You can also try submerging your carved pumpkin in a bucket of water for a few hours after carving to rehydrate it. While no method is foolproof, these steps can significantly extend the life of your jack-o'-lantern, giving you more time to enjoy its spooky charm. Consider pairing your festive pumpkin with a cozy pumpkin sweatshirt for those late-night porch viewings.
Final Thoughts on Your Pumpkin Prep
Carving a pumpkin doesn't have to be a chore. With these pumpkin carving hacks, you can streamline the process, achieve cleaner cuts, and even extend the life of your creation. Whether you're going for a simple, friendly face or an elaborate, spooky design, these tips should help make your Halloween pumpkin prep easier and more enjoyable. So grab your tools, perhaps a warm Classic Jack-o-Lantern Face T-Shirt for inspiration, and get ready to create some Halloween magic.

Published by Pumpkin Shirts
The pumpkin is the point.
Frequently Asked Questions
What's the easiest way to gut a pumpkin?
Using an electric hand mixer with a dough hook attachment can quickly scrape out the insides. Alternatively, a sturdy ice cream scoop with a sharp edge is more effective than a regular spoon for removing pulp and seeds.
How can I make cleaner cuts when carving a pumpkin?
Ensure your carving tools are sharp. A serrated utility knife or a dedicated pumpkin carving saw set offers better control. For very detailed work, consider linoleum cutters or clay sculpting tools.
How do I transfer a design onto a pumpkin easily?
You can use a washable marker to draw directly on the pumpkin, or print a stencil and poke holes along the lines with a skewer to create a dotted outline. Carbon transfer paper also works well for precise tracing.
Are there safe alternatives to candles for lighting pumpkins?
Yes, battery-operated LED lights are a much safer option. They come in various colors and effects and eliminate the fire hazard associated with real candles.
How can I make my carved pumpkin last longer?
After carving, apply petroleum jelly or vegetable oil to the cut edges to seal in moisture. You can also spray or brush the cut surfaces with a diluted bleach solution (1 tbsp bleach per quart of water) to inhibit mold and decay.
What's a good alternative to carving a pumpkin?
Pumpkin painting is a great option for a less messy approach. Acrylic paints allow for detailed designs, or you can opt for no-carve decorations like wrapping pumpkins in yarn or using pushpins to create patterns.
First Look at New Pumpkin Designs
New illustrations, patch stories, and heirloom variety guides — straight to your inbox before anyone else sees them.