Browse a Diverse Collection of Pumpkin Carving Stencils for Every Mood
There's something uniquely satisfying about transforming a humble pumpkin into a glowing work of art. Whether you're aiming for a friendly face to greet trick-or-treaters or a genuinely eerie visage to send shivers down spines, the right pumpkin carving stencils are your secret weapon. At Pumpkin Shirts, we believe the spirit of the season extends beyond apparel, and that includes helping you create the perfect jack-o'-lantern. Forget freehand attempts that end in frustration; a good stencil guides your hand and elevates your carving game.
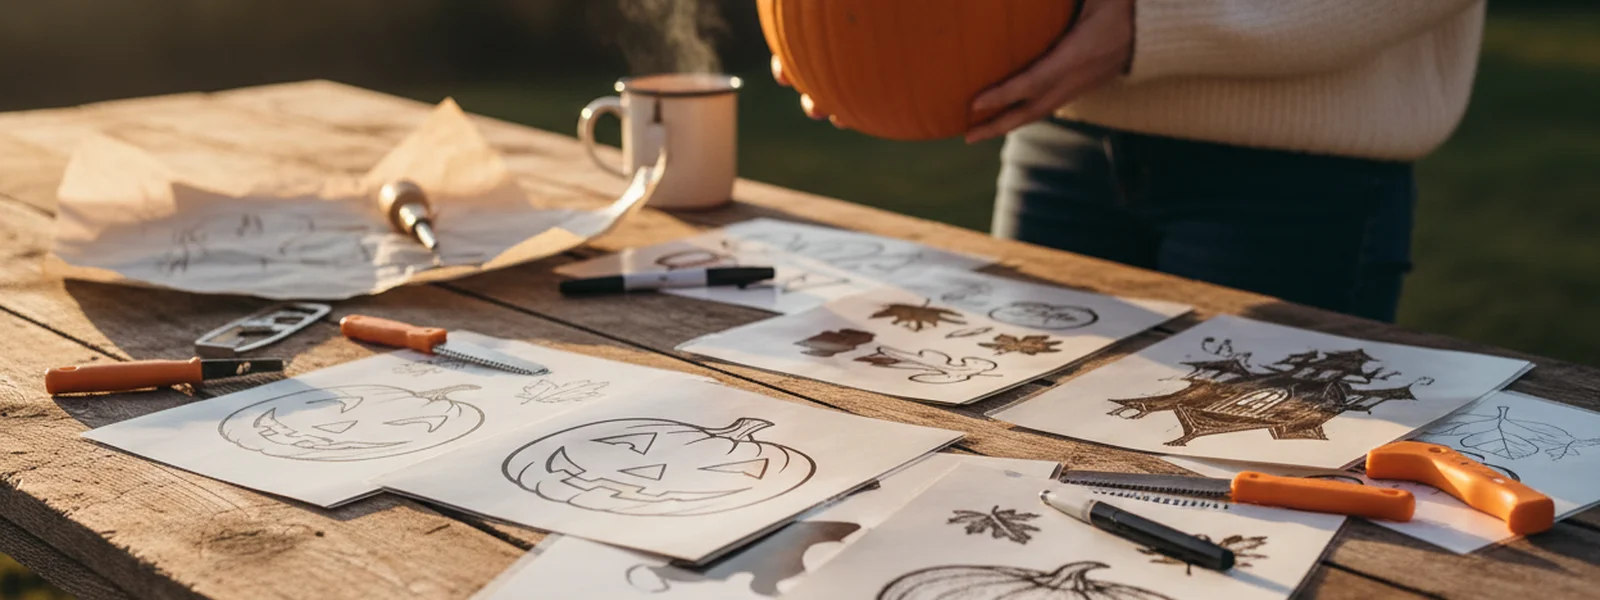
This guide is your portal to a world of pumpkin artistry. We'll explore designs that range from the delightfully cute to the spine-tinglingly sinister, offering something for every skill level and aesthetic. Whether you're a seasoned carver with years of experience or a beginner looking for easy carving designs, you'll find inspiration here. Let's dive into the wonderful, spooky, and sometimes surprisingly artistic universe of pumpkin carving stencils.
Find Designs Ranging from Friendly and Approachable to Truly Eerie
The beauty of a pumpkin lies in its versatility. It can be a beacon of autumnal warmth or a harbinger of Halloween fright. Our collection of pumpkin carving stencils is designed to reflect this duality, offering a spectrum of moods and styles.
Cute and Whimsical Carving Designs
For those who prefer their Halloween with a side of charm, our cute pumpkin designs are perfect. Think smiling faces with rosy cheeks, friendly ghosts peeking out, or playful woodland creatures peeking from behind the pumpkin's glow. These are ideal for family carving sessions, adding a touch of sweetness to your porch decor. They're approachable for all ages and bring a lighthearted spirit to the season. If you're looking for designs that are more sweet than spooky, these stencils will guide you to a delightful result.
For example, our Classic Jack-o-Lantern Face T-Shirt features a friendly, hand-drawn grin that embodies the spirit of approachable Halloween fun – a perfect reflection of the cute carving aesthetic.
Classic Jack-o'-Lantern Patterns
The quintessential jack-o'-lantern is a rite of passage. These detailed carving patterns often feature classic triangular eyes and a jagged, grinning mouth. They're timeless for a reason, offering that iconic spooky-pumpkin silhouette. Mastering these basic shapes is a great starting point for any carver. You can find endless variations, from simple and bold to slightly more intricate, all designed to capture that perfect jack-o'-lantern look.
Explore our Jack-o'-Lantern Shirts collection for apparel that captures the essence of these classic carved faces.
Spooky and Sinister Stencils
For the true Halloween enthusiasts, the goal is to create a jack-o'-lantern that is genuinely frightening. These free pumpkin stencils often involve more complex designs: sharp fangs, menacing eyes, skeletal features, or even intricate patterns that create a dramatic, shadowy effect when lit. Think gothic swirls, creepy crawlies, or faces that look like they're about to leap from the pumpkin. These are for the carvers who aren't afraid to go all out and create a statement piece for their Halloween display.
If you love the darker side of Halloween, our Spooky Pumpkin Shirts collection offers designs that match your thrilling aesthetic.
Get Step-by-Step Instructions on How to Transfer and Carve Stencil Patterns
Having a great stencil is only half the battle; knowing how to transfer and carve it effectively is key to a stunning result. Here’s a straightforward approach to bring your chosen design to life.
Preparation is Key
First, select a pumpkin that's right for your stencil. A larger, flatter surface is ideal for intricate designs, while smaller, rounder pumpkins work well for simpler patterns. Ensure your pumpkin is clean and dry. You'll want to cut a lid from the top or bottom (bottom is often preferred for stability and easier cord management if using lights). Scoop out the seeds and pulp thoroughly. A clean interior makes carving easier and helps the pumpkin last longer.
Transferring the Design
There are a few popular methods for transferring your stencil:
- Tape and Trace: Secure your printed stencil onto the pumpkin using painter's tape. Use a marker to trace the design directly onto the pumpkin's surface. This is simple and effective for most designs.
- Poking Tool: Print your stencil, then use a small awl or a specialized pumpkin carving tool to poke small holes along the lines of the design. Once you remove the stencil, you'll have a dotted outline to follow. This method is excellent for detailed patterns.
- Direct Transfer (for some stencils): Some stencils are designed to be transferred using carbon paper or even by taping the stencil and using a ballpoint pen to press firmly, leaving an impression.
Whichever method you choose, ensure your lines are clear and visible. If using a marker, a dark, permanent one works best. For the poking method, keeping the dots close together will create a more precise guide.
Carving with Confidence
Now for the fun part! Use specialized pumpkin carving tools for the best results. Small saws are excellent for cutting through the pumpkin rind precisely. For detailed areas, a linoleum cutter or a small craft knife can be invaluable. Take your time, especially with intricate sections. Work slowly and steadily, following the lines you've transferred. If you're using a pumpkin carving kit, ensure you're using the right tool for the job – small saws for outlines, scoopers for thinning the walls, and detail tools for fine work.
Remember to thin the walls of your pumpkin to about 1 inch thick in areas where you plan to carve deeply. This makes it easier to cut through and allows more light to shine through, enhancing the glow. Don't be afraid to adjust the design as you go; sometimes the pumpkin itself suggests a slightly different approach.
Discover Tips for Selecting the Right Stencil for Your Pumpkin Size and Shape
Choosing the perfect stencil is about more than just liking the design; it's about matching it to your pumpkin. A well-chosen stencil will make your carving process smoother and the final result more impactful.
Consider the Pumpkin's Surface
Flat-faced pumpkins are your best friend when it comes to detailed stencils. They provide a smooth canvas that allows intricate lines and small details to be transferred and carved accurately. If your pumpkin has significant bumps or curves, opt for simpler designs or patterns that can accommodate the natural shape of the gourd. Sometimes, the pumpkin's unique contours can even add character to a design, turning a potential flaw into a feature.
Scale Matters
Think about the size of your pumpkin. A very large pumpkin can handle a complex, multi-layered design with many small details. Conversely, a small pumpkin might be overwhelmed by an overly intricate stencil. For mini pumpkins, simple shapes like single eyes, noses, or small mouths are often the most effective. Always try to scale your stencil to fit the available carving space without making the details too tiny to carve or too close to the edges.
The Power of the Glow
When selecting a stencil, consider how the light will interact with the carved areas. Designs with varying depths of cut can create a beautiful, multi-dimensional glow. Areas that are carved all the way through will let the most light through, while areas that are only scraped or thinned will create a softer, more diffused light. Patterns with lots of small, disconnected pieces might be challenging to carve but can result in a truly magical luminous effect when lit from within.
Embrace the Unexpected
Don't be afraid to experiment. Sometimes, a stencil you find online can be modified slightly to better suit your pumpkin or your skill level. You can also combine elements from different stencils to create something entirely unique. The goal is to have fun and create a jack-o'-lantern that brings you joy, whether it's a cute character or a terrifying face.
Where to Find Free Pumpkin Stencils and Detailed Carving Patterns
The good news is that you don't need to be an artist to create an amazing jack-o'-lantern. The internet is brimming with resources for free pumpkin stencils and detailed carving patterns. Many websites offer downloadable templates for free, often categorized by theme (cute, spooky, characters, etc.).
When searching, look for sites that provide clear printing instructions and tips for transfer. Some offer varying difficulty levels, which is helpful for beginners. Remember, even the most complex detailed carving patterns can be tackled with patience and the right tools. For those seeking something truly special, consider purchasing unique stencil sets from artists or craft stores, which can offer exclusive designs you won't find elsewhere. And if you're looking for apparel that complements your carving efforts, be sure to check out our All Pumpkin Shirts collection for designs that celebrate every aspect of pumpkin season.
For those who appreciate the natural beauty of pumpkins before they're carved, our Heirloom Pumpkin Shirts collection features elegant botanical illustrations of unique pumpkin varieties.
Whether you're aiming for a simple, charming face or an elaborate, spooky scene, the right pumpkin carving stencils will transform your jack-o'-lantern from ordinary to extraordinary. Happy carving!
Frequently Asked Questions about Pumpkin Carving Stencils
- What is the best way to transfer a stencil onto a pumpkin?
The most common methods are taping the stencil and tracing with a marker, or using a poking tool to create a dotted outline by puncturing the stencil's lines onto the pumpkin surface. Both methods work well for guiding your carving.
- Can I reuse a pumpkin carving stencil?
Yes, most paper stencils can be reused multiple times, especially if you're careful when tracing or poking. Laminated stencils or those printed on thicker cardstock will hold up even better for repeated use.
- What tools are best for detailed carving patterns?
For intricate designs, use specialized pumpkin carving tools such as small saws, linoleum cutters, detail knives, or even clay sculpting tools. Thinning the pumpkin walls also makes detailed carving easier.
- How do I make my carved pumpkin last longer?
After carving, clean the inside thoroughly and apply a petroleum jelly or vegetable oil mixture to the cut edges to seal in moisture. Storing the pumpkin in a cool place, like a refrigerator or shaded porch, also helps extend its freshness.
- Where can I find free pumpkin carving stencils online?
Many websites offer free downloadable pumpkin stencils. Search for terms like "free pumpkin carving stencils," "easy pumpkin carving patterns," or "Halloween stencil templates" to find a variety of options.

Published by Pumpkin Shirts
The pumpkin is the point.
Frequently Asked Questions
What is the best way to transfer a stencil onto a pumpkin?
The most common methods are taping the stencil and tracing with a marker, or using a poking tool to create a dotted outline by puncturing the stencil's lines onto the pumpkin surface. Both methods work well for guiding your carving.
Can I reuse a pumpkin carving stencil?
Yes, most paper stencils can be reused multiple times, especially if you're careful when tracing or poking. Laminated stencils or those printed on thicker cardstock will hold up even better for repeated use.
What tools are best for detailed carving patterns?
For intricate designs, use specialized pumpkin carving tools such as small saws, linoleum cutters, detail knives, or even clay sculpting tools. Thinning the pumpkin walls also makes detailed carving easier.
How do I make my carved pumpkin last longer?
After carving, clean the inside thoroughly and apply a petroleum jelly or vegetable oil mixture to the cut edges to seal in moisture. Storing the pumpkin in a cool place, like a refrigerator or shaded porch, also helps extend its freshness.
Where can I find free pumpkin carving stencils online?
Many websites offer free downloadable pumpkin stencils. Search for terms like "free pumpkin carving stencils," "easy pumpkin carving patterns," or "Halloween stencil templates" to find a variety of options.
First Look at New Pumpkin Designs
New illustrations, patch stories, and heirloom variety guides — straight to your inbox before anyone else sees them.